Introduction
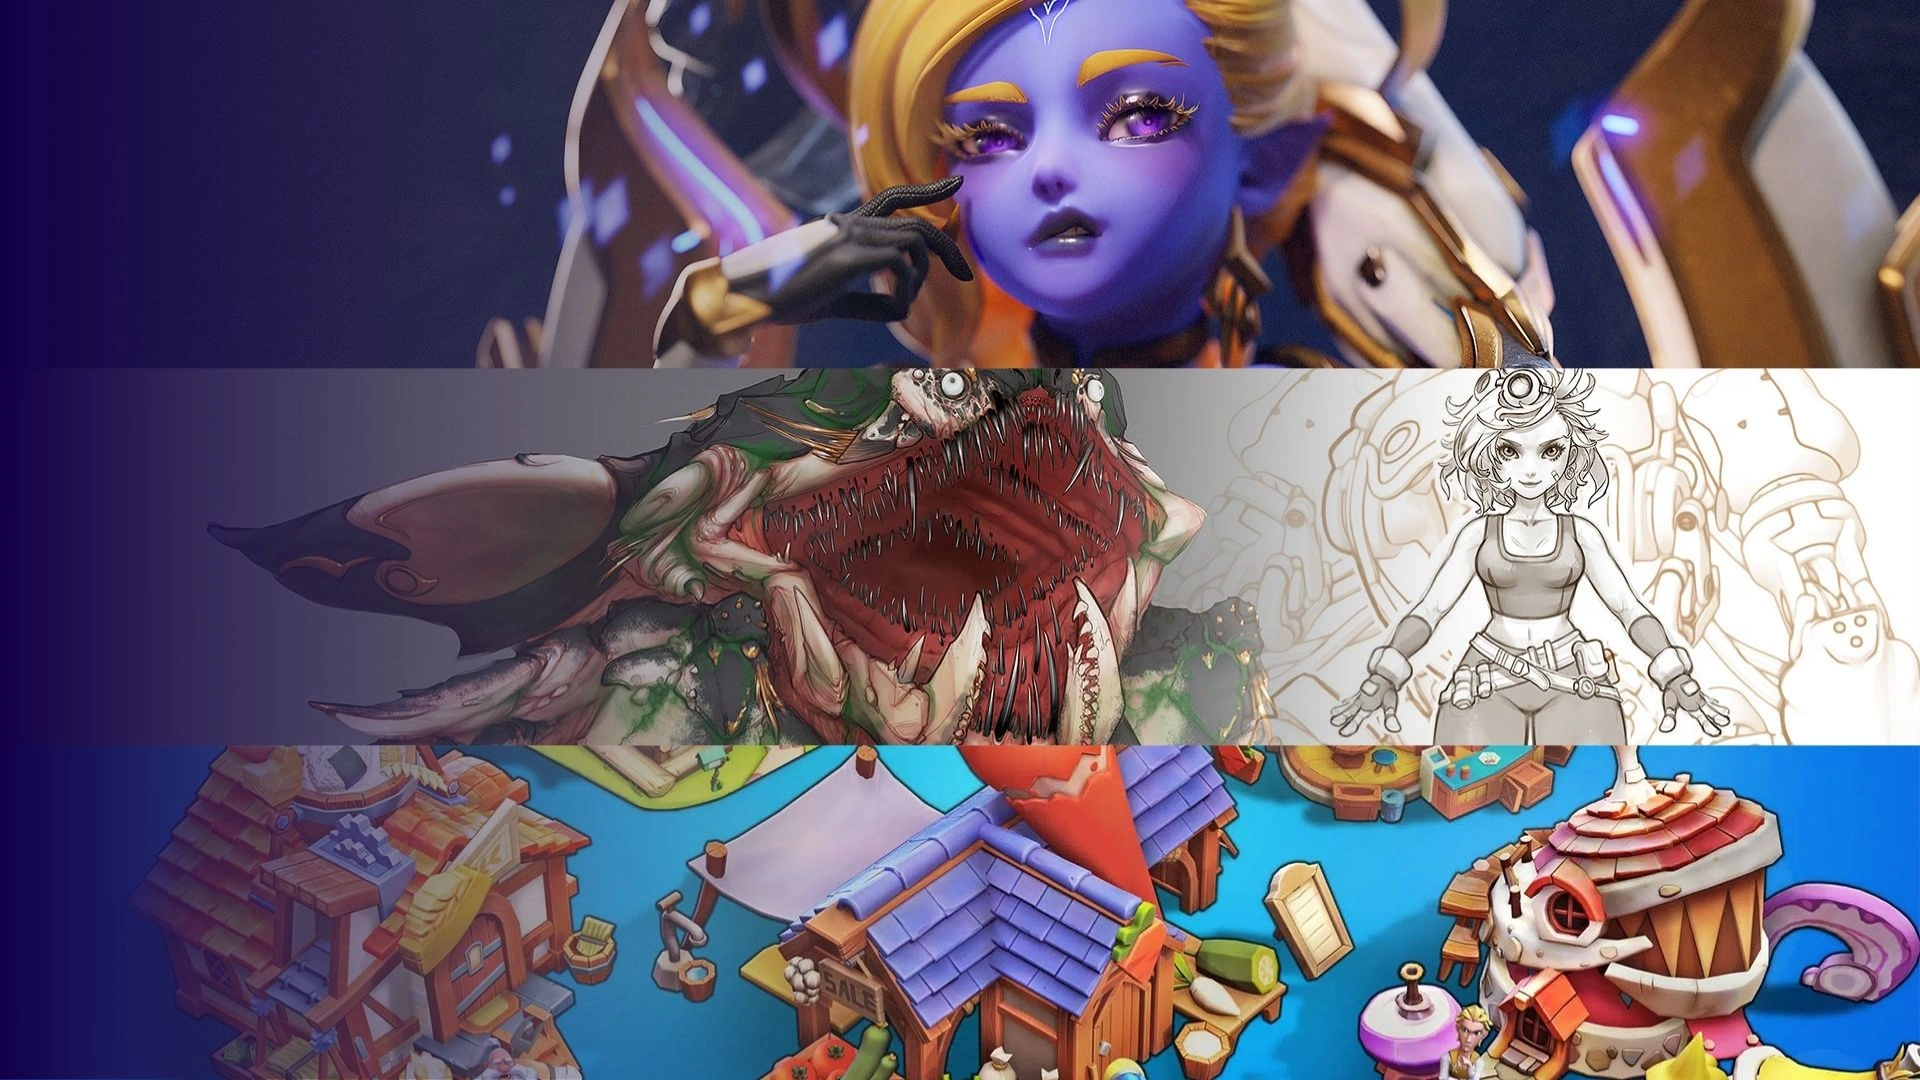
Some might already know about my old project – Exparia (a making-of article on 80lv was published last year). It was well received and I see that our communities have a huge interested in UE4 in-depth technique of stylized look dev and rendering to make 3D model. Therefore I am pleased to write more about this topic, in particular, a case study – my latest project – Pisciasa. She is one of my OC collections (girls with mecha monsters series) and above all she is my entry for the recent contest by CubeBrush – ArtWar2.

In the process of doing each of my projects, I have been working non-stop to train myself in both artistic and technical skills. I have taken part in Inktober to train my 2D drawing skills, I have written some more tools & scripts to aid with 3D production at Thundercloud. Also, I found some more interesting shaders technique in UE4 that could benefit the way I do the stylized rendering. I learn many things in the past months since Exparia and I want to put all of my skills and experiences to the challenge in Artwar2 using my latest work – Pisiasa, so in this article, you will have a brief look through all the techniques and workflows I have developed for Pisciasa.
Ambition
The biggest ambition of Pisciasa is the standard that I set myself to push the quality of the final 3d piece to look as close as possible to the 2D illustration concept. I want people unable to distinguish between the final 3D piece and its 2D concept work, thus improve the quality of the 3D in both art direction and production techniques. Once I can achieve this goal, then I would be confident that I can execute any of my 2D works into a decent stylized PBR work in UE4 without losing any of its feeling or artistic look in 2D.

Having experience from Exparia and my past projects, I know there are numerous of points I need to work on. First I need a more detail 2d concept so that I would know exactly what kind of look/visual goal I should aim for in UE4 as well as what kind of effects, stylized shaders I need to make in UE4.
The render quality of the final image in UE4 also needs to be improved, having a better shadow, better lighting, better AA, and details render etc.
Lastly, on top of all, I need a better planning and schedule to help me finishing Pisciasa before ARTWAR2 deadline. Which having a clear 2D concept as an art goal help me greatly in planning my production and vision the final result.
General view of workflow

The modeling & texturing workflows of Pisciasa are pretty basic and straightforward, for more detail of how I did the design and planning my modeling/texturing process you can visit the production breakdown article on CubeBrush blog which will be published soon by the time I am writing this, and process video below:
Fish modeling progress
Face Texturing
Body Texturing
Hair texturing
One notable point is that I improved my old base mesh for Pisciasa face & body model. I worked on my base meshes and articular topology and anatomy modeling over time after each one of my project cycle. Here are some images to demonstrate the features of Pisciasa base mesh, you can see how the topology in relation to deformation work during animation. If you are interested in Topology and edge flow for articular modeling (the relationship between Topology, anatomy, and joints position for best deformation result while animating). If you are interested in taking a deeper look into Pisciasa body, please go here.


Major improvements in shader development
One thing for sure that even if I could manage to carry out a spot on modeling and texturing, what really matters at the end that decides whether I could achieve the same feeling as the concept is a later part of the project – Shader Development and lighting. These steps will bring out more life out of the static look of stylized hand-painted models which are usually presented in plain unlit mode.
There are reasons why a lot of people refrain from adding lights and using no other shaders than unlit material to present stylized hand-painted texture model because the painted surface does not contain enough information for the light to behave like it should, thus making the texture look faked or rather just reveal the true self as static images being painted on the model. But if I can manage to develop a shader that somehow has lighting detail that looks like a stylized painting then I can pull this off.

Here ‘s a cheat sheet so you can have an overall view of Pisciasa shaders setup. Honestly I am no UE4 look dev shader expert, most of my shaders don’t really have fancy coding to manipulate the way they react to real lights in the scene (I really need to learn to code shaders in the future) but rather I manipulate basic things that mainly affect model’s surfaces like Base Color, subsurface color and normal in UE4 shader editor.

Setup for look dev
I used BP_light_studio as a starter setup for doing look dev which gives me a nice HDR dome, directional sunlight and other things like fog, skylight etc. Also, I can rotate the BP_light_studio actor to get different sun angle to test the model under different lighting condition (day/sunset/night)

I used a lot of fresnel and normal manipulation functions to develop my shaders so I always apply my shaders onto different basic shape to test how it reacts on different perfect simple surfaces, it ‘s also easier to troubleshoot and detect bug if there is something wrong going on with the shader.

Face & body skin shader

Face shader is always the first one I start working on, once I can have a decent look at the face I will then move my way up from there. I used the old Skin shader I made for Exparia as a base, I have adjusted some nodes and graphs for a better result in the fake reflection function nodes, detail breakdown of this shaders can be found in this article.
Below is a capture of the graph with clear annotation of each nodes group. I could use reroute pin to clear up the chaos looking graph but for some odd reason my UE has a bug when it can’t compile the output correctly when using reroute pins, so I apologize for the wild-looking wires.


Pisciasa Closeup Demo:
Fake Stylized Reflective material function

One of the key features of the skin shader I set up is the material function for stylized fake reflections. What it basically does is it takes whatever 2D cubemap texture your input (it could be a photograph, a hand painted texture, a concept art, etc) as reflective texture added on top of an existing diffuse input. The function also lets you control the fresnel amount, as well as the glow of the hi-light area as if the input is an HDR image. I used various forms of this function in many of my shaders to archive stylized look.


Different HDR or Cube Map inputs produce a different style of reflective material
New improved setup for stylized eyes material
Below is my old eye setup for Exparia, which is a bit difficult to maintain or to make any adjustment to the final look because it consisted of several different meshes with different shaders of different lighting models (opaque, cutout and additive translucency) which is a bit overcomplicated to maintain.

I came up with a new better setup for Pisciasa eyes, now her eyeball only consisted of 1 mesh, a simple eye sphere. The common problem with simple eye sphere is that they look really weird when viewing from side view angle because real eye’s iris is actually caved in and the area that curves out is just the cornea lenses so we have a very complex refraction effect happening in the eye area. To get over this problem, I used the Bump Depth node in UE4, which is used for parallax mapping, but in this case I will set it up so that the parallax will only happen when you view the eye at a narrow-angle (which is controlled by a Fresnel mask), this effect in combination with the fake reflection on top would fake the refraction effect really nice.

In principle, the eye shader is the same as my skin shader except that it has an extra effect – the fake refraction/parallax effect which I later integrated as an extra feature into my existing skin shader. Thus this shader also works well if your character’s face has texture-base eyes painted on ( not separated eyeball), you just need a depth map that masks our the iris area of the eyes for refraction effect only happen at these areas.
Stylized anisotropic shader


One of major improvement I have made for Pisciasa ‘s shaders is the stylized anisotropic (fake) shader used on her clothes and hair. It mainly derived from the custom reflection material function I made. Setup of the shader include 2 reflections effect overlay on top of Base Color pass, one at top area and one at the bottom area, these are to fake the effect of sun and ground reflections, I also have parameters to control the scale and position of these reflections.


Tessellation trick for smoothing the model surface

Look dev Tip & tricks
Using Parameter where possible
Clean up and keep things organized as I build it
Optimize later
Packaging for reuse

Lighting


Volumetric light

Render for quality